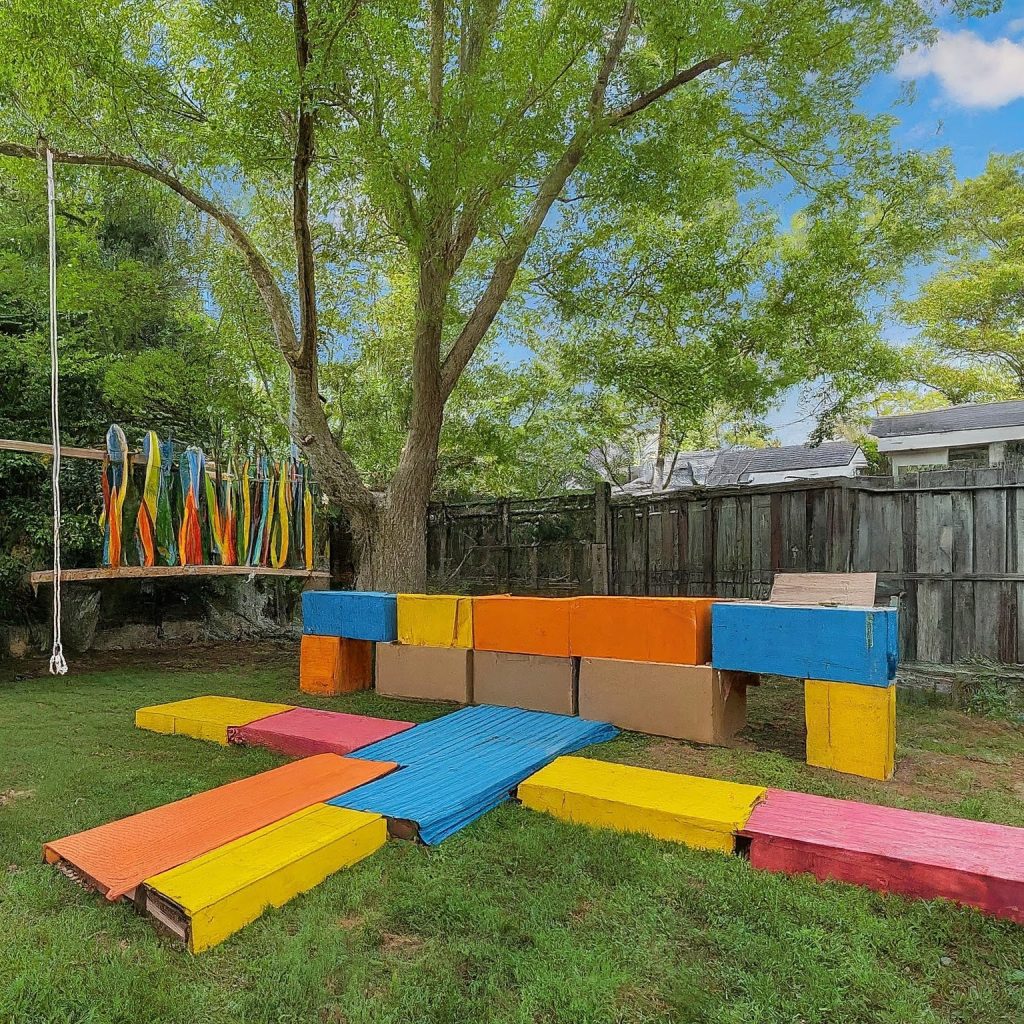
Calling all thrill-seekers and aspiring ninjas! It’s time to unleash your inner athlete and transform your backyard into a challenging and fun obstacle course. Get ready to climb, jump, crawl, and conquer a course you designed and built yourself! This post will guide you through the planning, building, and conquering stages of your epic obstacle course adventure.
Plan Your Course: Dreamscapes and Difficulty Levels
The first step is to unleash your creativity! Imagine the ultimate obstacle course. What challenges would you love to face? Here are some ideas to get you started:
- Terrain: Will your course navigate grassy hills, weave around trees, or conquer a paved patio?
- Obstacles: Think about incorporating climbing challenges like tunnels, balance beams, or hurdles. Crawling challenges like mud pits (supervised for safety, of course!) or weaving through cones add another dimension of fun.
Difficulty Levels
- Beginner Course: Start simple with low hurdles, crawling under chairs, and weaving around cones.
- Intermediate Course: Amp up the challenge with higher hurdles, balance beams made from planks, and a tunnel crawl through a large cardboard box.
- Advanced Course: For the ultimate test, incorporate wall climbing using a sturdy fence or climbing frame (with adult supervision), rope swings, and balance challenges across uneven surfaces.
Safety First!
Always prioritize safety. Choose age-appropriate obstacles and ensure a soft landing surface (grass, mats) for jumps and falls. Adult supervision is crucial, especially for younger children.
Building Your Course: From Imagination to Reality
Once your plan is in place, it’s time to gather your materials! Here’s what you might need:
- Household Items: Get creative! Use pool noodles, hula hoops, blankets, chairs, and cardboard boxes to create your obstacles.
- Outdoor Supplies: Ropes, stakes, and buckets can come in handy for building climbing structures and water features.
- Decorations (Optional): Add a touch of fun with streamers, flags, and themed decorations to match your obstacle course concept (think pirate ship, jungle adventure, etc.)
Get Crafty!
This is your chance to get crafty and personalize your course! Use paint to decorate cardboard boxes or hula hoops, and get creative with how you arrange your materials. Remember, the goal is to have fun and be creative!
Conquering Your Course: Time to Get Active!
The moment you’ve been waiting for – it’s time to conquer your obstacle course creation! Here are some tips for a successful run:
- Warm-up: Don’t forget to warm up your muscles with some light stretches or jumping jacks to avoid injuries.
- Set a Timer (Optional): Challenge yourself by setting a timer and aiming to complete the course in the fastest time possible.
- Team Up!: Make it even more fun by competing with friends and family, or create a relay race with teams conquering the course together.
- Most Importantly – Have Fun!: This is all about enjoying the challenge and celebrating your achievements. Don’t be afraid to laugh, get messy, and unleash your inner athlete!
Beyond the Backyard: Obstacle Course Adventures Await!
Your DIY obstacle course isn’t just limited to the backyard! Take your challenge on the go by incorporating elements into your neighborhood walks, park visits, or even indoor play spaces like gymnastics centers https://usagym.org/. The possibilities are endless!
So, unleash your inner builder and athlete, and embark on this exciting obstacle course adventure. With a little planning, creativity, and a whole lot of fun, you’ll create lasting memories and conquer challenges along the way!

